Revamp Your Brand: A Facebook Name Change Tutorial
Are you ready to give your business a fresh new look? One of the first steps you can take to revamp your brand is by changing your business name on Facebook. This simple tutorial will guide you through the process step-by-step, making it easy as 1-2-3 to update your business name and make a lasting impression on your followers.
Step 1: Access Your Facebook Page Settings
")
The first step in changing your business name on Facebook is to access your page settings. To do this, simply log in to your Facebook account and navigate to your business page. Once you’re on your page, click on the Settings tab located at the top of the page.
Step 2: Edit Your Page Information
Once you’re in the settings menu, look for the Page Info tab on the left-hand side of the page. Click on this tab to access your page information, where you’ll be able to update your business name. Scroll down until you find the Name section, and click on the Edit button next to it.

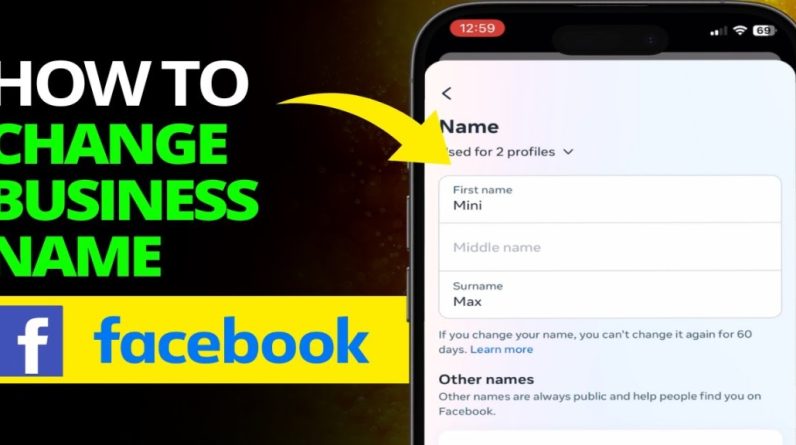
Step 3: Update Your Business Name
After clicking on the Edit button, you’ll be prompted to enter your new business name. Make sure to type in your new name accurately and double-check for any spelling errors. Once you’re satisfied with your new name, click on the Continue button to save your changes.
Step 4: Review and Confirm

Before finalizing your business name change on Facebook, take a moment to review your new name and ensure that it accurately reflects your brand. Once you’re confident in your choice, click on the Request Change button to submit your request to Facebook for approval.
Step 5: Wait for Approval
After submitting your request, Facebook will review your business name change to ensure it complies with their guidelines. This process typically takes a few days, so be patient and wait for Facebook to approve your new name. Once approved, your business name will be updated on your page for all your followers to see.
Step 6: Update Your Marketing Materials
Now that your business name has been successfully changed on Facebook, it’s time to update your marketing materials to reflect your new brand identity. Make sure to update your website, business cards, and any other promotional materials with your new name to maintain consistency across all platforms.
By following this simple tutorial, you can easily revamp your brand and make a lasting impression on your followers with a fresh new business name on Facebook. Don’t be afraid to get creative and think outside the box when choosing your new name – after all, your brand is a reflection of who you are as a business, so make it count!
Easy as 1-2-3: Updating Your Business Name on Facebook
Are you ready to give your business a fresh new look? Changing your business name on Facebook is a great way to revamp your brand and attract new customers. With just a few simple steps, you can update your business name on Facebook and start reaching a wider audience. Follow this easy guide to make the process as smooth as possible!
Step 1: Log in to Your Facebook Account
The first step in changing your business name on Facebook is to log in to your account. Once you’re logged in, navigate to your business page by clicking on the drop-down menu in the top right corner of the screen. Select Manage Pages and then click on the page you want to edit.
Step 2: Go to Page Settings
Once you’re on your business page, look for the Settings option in the top right corner of the screen. Click on this option to access your page settings. From there, you’ll see a menu on the left side of the screen. Look for the Page Info tab and click on it to access your business information.
Step 3: Edit Your Business Name
Now that you’re in the page information section, you’ll see all of the details about your business, including the name, address, and contact information. Look for the Name section and click on the Edit button next to it. You’ll then be able to type in your new business name.
It’s important to note that Facebook has specific guidelines for changing your business name. Make sure that your new name complies with these guidelines to avoid any issues with your account. Once you’ve entered your new name, click Save Changes to update your business name on Facebook.
And just like that, you’ve successfully updated your business name on Facebook! Now you can attract more customers and give your brand a fresh new look. Keep in mind that it may take some time for the changes to be reflected across the platform, so be patient as Facebook processes the update.
In conclusion, changing your business name on Facebook is a simple and effective way to revamp your brand and attract new customers. By following these easy steps, you can update your business name in just a few minutes. So go ahead and give your business a fresh new look on Facebook today!
How To Change Business Name On Facebook